Handstand Progression: From Wall to Freestanding
Handstands are a challenging yet rewarding skill. This guide breaks down the journey from wall-assisted practice to confidently balancing on your own two hands. We'll cover essential progressions, drills, gear recommendations, and address common roadblocks to help you achieve your freestanding handstand goals. Get ready to flip your perspective and build the strength and control you need!
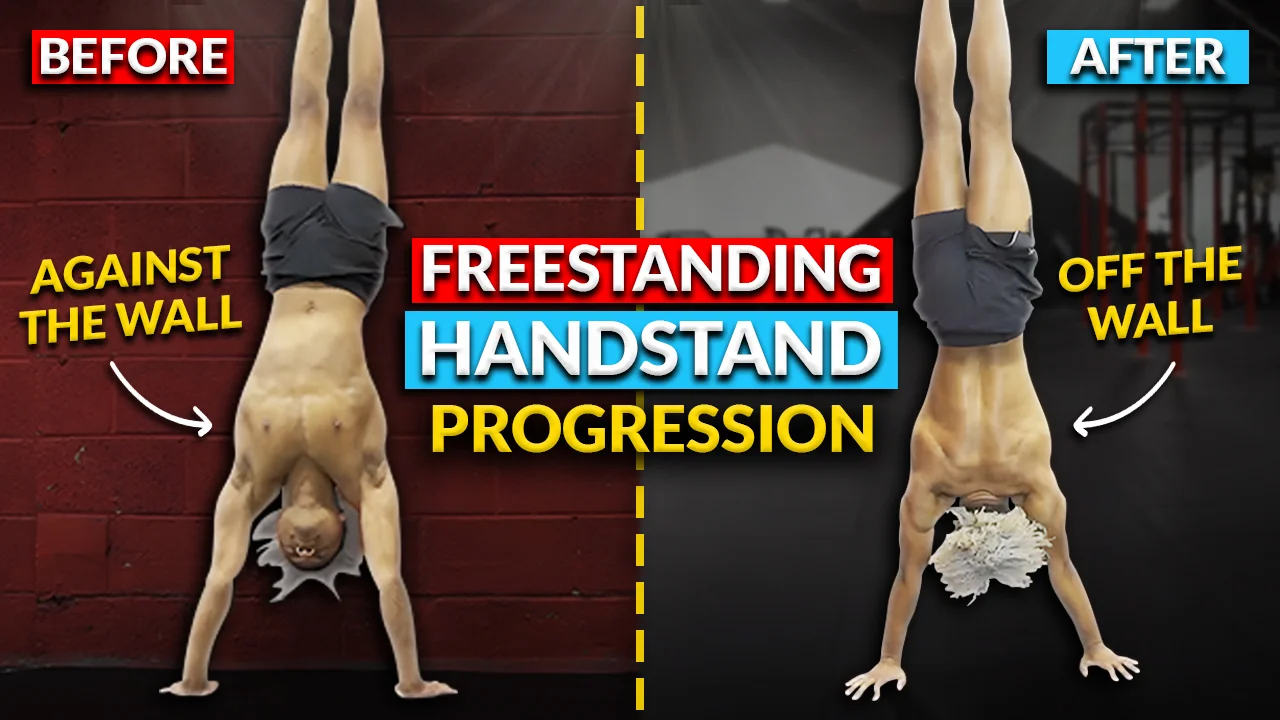
So, you're ready to ditch the wall and take your handstand practice to the center of the room? Awesome! This is a huge step, and it's totally achievable with the right approach. We're going to break down the steps, drills, and even some gear that can help you on your journey to a freestanding handstand. Let's get upside down!
Handstand Fundamentals: Building a Solid Foundation
Before you even think about kicking away from the wall, you need a solid base. This means:
- Wrist Strength & Mobility: Your wrists are going to be doing a lot of work. Warm them up with wrist circles, flexions, and extensions. Consider using wrist wraps for extra support, especially if you have any existing wrist issues.
- Shoulder Strength & Stability: Think about pushing through the floor. Scapular protraction (pushing your shoulder blades apart) is key. Practice shoulder shrugs, push-ups (focusing on pushing through the floor), and pike push-ups.
- Core Engagement: Your core is your stabilizer. Engage your abs throughout the handstand. Practice planks, hollow body holds, and tuck-ups.
- Proper Alignment: Stack your wrists under your shoulders, and your hips over your wrists. Imagine a straight line from your hands to your feet.
Wall Work: Mastering the Basics Handstand Drills
The wall is your friend! Use it to build strength, refine your alignment, and get comfortable being upside down.
- Wall Walks: Start in a plank position with your feet against the wall. Walk your hands towards the wall and your feet up the wall until you're in a vertical position. Focus on maintaining a straight line from head to heels. Hold for as long as you can maintain good form.
- Belly-to-Wall Handstands: Kick up into a handstand with your belly facing the wall. Focus on pushing through your shoulders and engaging your core. Practice shifting your weight slightly to find your balance.
- Chest-to-Wall Handstands: Kick up into a handstand with your chest facing the wall. This variation helps you practice your line and refine your alignment. Pay attention to keeping your hips stacked over your shoulders.
- Wall Taps: In a belly-to-wall handstand, practice tapping your feet lightly on the wall, then pulling them away. This helps you develop the control needed to make small adjustments in your freestanding handstand.
Handstand Kicks: Finding Your Entry Strategy
There are several ways to kick up into a handstand. Experiment to find what works best for you.
- The Controlled Kick-Up: This is the most common method. Start in a lunge position, place your hands on the floor, and slowly kick one leg up, followed by the other. Focus on control and avoid kicking up too hard.
- The Scissor Kick: Similar to the controlled kick-up, but with a more dynamic scissor-like motion of the legs.
- The Tuck Up: Tuck your knees towards your chest and jump up into a handstand. This requires more core strength and coordination.
No matter which kick-up you choose, practice makes perfect! Film yourself to identify areas for improvement.
Spotting Techniques for Handstands: Staying Safe
Having a spotter can be incredibly helpful, especially when you're first starting to practice freestanding handstands. A good spotter can:
- Provide Support: They can help you find your balance and prevent you from falling.
- Offer Feedback: They can point out areas where you need to improve your form.
- Boost Confidence: Knowing you have someone there to catch you can make you feel more confident and willing to take risks.
Ask a friend, training partner, or coach to spot you. Make sure they know how to spot properly. They should stand behind you and be ready to catch your legs or hips if you start to fall. Communication is key! Let them know what you need them to do.
Freestanding Handstand Drills: Refining Your Balance and Control
Now for the fun part! These drills will help you develop the balance and control you need to hold a freestanding handstand.
- Pencil Holds: Kick up into a handstand and focus on holding a straight line from head to heels. Engage your core and push through your shoulders. Hold for as long as you can maintain good form.
- Tuck Holds: Kick up into a handstand and tuck your knees towards your chest. This helps you find your center of gravity.
- Straddle Holds: Kick up into a handstand and open your legs into a straddle position. This increases your base of support and makes it easier to balance.
- Walking Handstands: Once you're comfortable holding a handstand, start practicing walking on your hands. Take small steps and focus on maintaining your balance.
- Press Handstand Negatives: From a standing position, slowly lower yourself down into a straddle L-sit or tuck sit, then press back up. This builds the strength and control needed for press handstands.
Handstand Troubleshooting: Addressing Common Challenges
Everyone faces challenges when learning handstands. Here are some common issues and how to address them:
- Falling Over: This is normal! Focus on learning how to bail safely. Practice falling to the side or tucking into a somersault.
- Wrist Pain: Make sure you're warming up your wrists properly. Consider using wrist wraps for support. If the pain persists, see a doctor or physical therapist.
- Lack of Strength: Continue to work on your foundational strength exercises (push-ups, planks, etc.).
- Fear: Start slowly and gradually increase your challenge. Use a spotter and celebrate your progress.
Handstand Gear Recommendations: Products to Enhance Your Practice
While you don't *need* any fancy equipment to learn handstands, some gear can definitely enhance your practice and make it more comfortable and effective.
- Yoga Mat: A good yoga mat provides a comfortable and stable surface for your hands. Look for a mat that is thick enough to cushion your wrists and has good grip.
Recommendation: The Manduka PRO Yoga Mat is a premium option known for its durability, thickness, and excellent grip. It's an investment, but it will last for years. It retails for around $130. A more affordable option is the Gaiam Essentials Thick Yoga Mat, which provides good cushioning and grip for a fraction of the price (around $25).
- Wrist Wraps: Wrist wraps provide extra support and stability for your wrists. They can be especially helpful if you have any existing wrist issues or are practicing handstands for extended periods.
Recommendation: Rip Toned Wrist Wraps are a popular choice among athletes. They are adjustable and provide excellent support. They retail for around $20. Alternatively, you can use simple athletic tape for wrist support, but it's less adjustable and reusable.
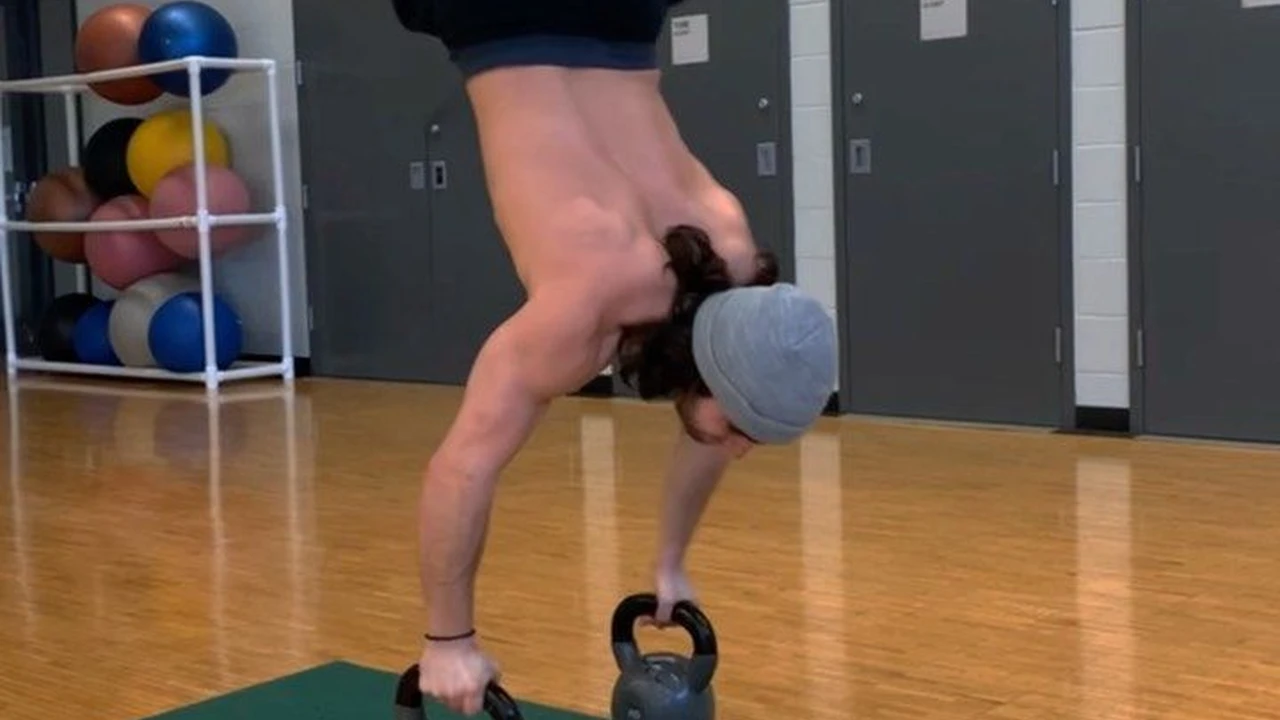
- Parallettes: Parallettes are small, parallel bars that can be used to practice handstands and other gymnastic skills. They elevate your hands off the floor, which can reduce wrist strain and improve your grip.
Recommendation: The Garage Fit Parallettes are a sturdy and affordable option for home use. They are made from steel and have a rubber base for stability. They sell for approximately $60. A more portable option are PVC parallettes, but they may not be as durable.
- Handstand Blocks: Similar to parallettes, handstand blocks elevate your hands. They are typically made of wood and can help improve wrist alignment and reduce strain.
Recommendation: Wooden handstand blocks from a brand like Revolution balance boards offer a solid surface and a good grip. Prices vary, but expect to pay around $40-$80 depending on the size and quality.
- Chalk: Chalk helps to absorb moisture and improve your grip. This can be particularly useful if you live in a humid climate or tend to sweat a lot.
Recommendation: Magnesium carbonate chalk is the standard choice. You can find it in block form, powder form, or liquid form. Liquid chalk tends to be less messy. A block of chalk will cost around $5.
Comparing Handstand Gear: Finding What's Right for You
Choosing the right gear depends on your individual needs and preferences. Here's a quick comparison:
- Wrist Wraps vs. No Wrist Wraps: If you have weak wrists or experience wrist pain, wrist wraps are a must. If your wrists are strong and healthy, you may not need them.
- Parallettes vs. Handstand Blocks: Parallettes offer a wider base of support and can be used for a variety of exercises. Handstand blocks offer a more traditional handstand feel and are more compact. Choose based on your personal preference and training goals.
- Yoga Mat: Always recommended for comfort and grip.
- Chalk: Recommended if you sweat a lot or have difficulty gripping.
Consider your budget, training goals, and any existing injuries when making your decisions. Don't be afraid to experiment with different types of gear to see what works best for you.
Maintaining a Handstand Practice: Tips for Long-Term Success
Consistency is key! Aim to practice handstands several times a week. Even short sessions are better than nothing. Here are some tips for maintaining a long-term handstand practice:
- Set Realistic Goals: Don't try to do too much too soon. Start with short holds and gradually increase the duration as you get stronger.
- Listen to Your Body: Rest when you need to. Don't push yourself too hard, especially when you're feeling tired or sore.
- Make it Fun: Experiment with different variations and drills to keep your practice interesting.
- Find a Community: Connect with other handstand enthusiasts online or in person. Sharing your progress and learning from others can be incredibly motivating.
- Track Your Progress: Keep a log of your practice sessions and track your progress. This can help you stay motivated and identify areas where you need to improve.
Remember, learning handstands takes time and patience. Don't get discouraged if you don't see results immediately. Just keep practicing, and you'll eventually achieve your goals.
:max_bytes(150000):strip_icc()/277019-baked-pork-chops-with-cream-of-mushroom-soup-DDMFS-beauty-4x3-BG-7505-5762b731cf30447d9cbbbbbf387beafa.jpg)