5 Essential Calisthenics Gear Items for Home Training
Calisthenics is an awesome way to get strong using just your bodyweight, but having the right gear can seriously level up your home workouts. From protecting your hands to boosting your range of motion, these five pieces of equipment will help you unlock new skills and push your limits. We'll break down each item, explore different options, and even give you some real-world product recommendations to get you started. Let's dive in!

Calisthenics Grips for Enhanced Grip Strength and Hand Protection
Let's be real, your hands are crucial in calisthenics. Whether you're doing pull-ups, muscle-ups, or even just holding a plank, a solid grip is essential. But sometimes, your grip can be the limiting factor, not your strength. That's where calisthenics grips come in. They provide extra friction and padding, allowing you to hold on tighter and longer. Plus, they protect your hands from calluses and blisters, so you can train more comfortably.
Types of Grips: You'll find a few different types of grips out there:
- Leather Grips: These are durable and mold to your hands over time. They offer excellent grip and protection.
- Rubber Grips: Rubber grips are generally more affordable and provide good grip, especially in sweaty conditions.
- Chalk-Based Grips: These are less of a physical grip and more of a liquid chalk alternative. They improve grip by reducing moisture.
Product Recommendations:
- Bear KompleX Leather Hand Grips: These are a popular choice for a reason. They're made from high-quality leather, offer excellent grip, and are built to last. Expect to pay around $30-$40.
- WOD Nation Speed Grips: These rubber grips are a great option if you're looking for something more affordable. They provide good grip and are easy to clean. They usually cost around $20-$30.
- Liquid Grip Chalk: For those who prefer chalk, this liquid version is fantastic. It lasts longer than regular chalk and doesn't create as much mess. A bottle will set you back about $15-$20.
Using Grips: Make sure the grips fit snugly on your hands. You want them to provide support without restricting your movement. Experiment with different grips to find what works best for you. Clean them regularly, especially if you're using chalk. Leather grips might need occasional conditioning to keep them supple.
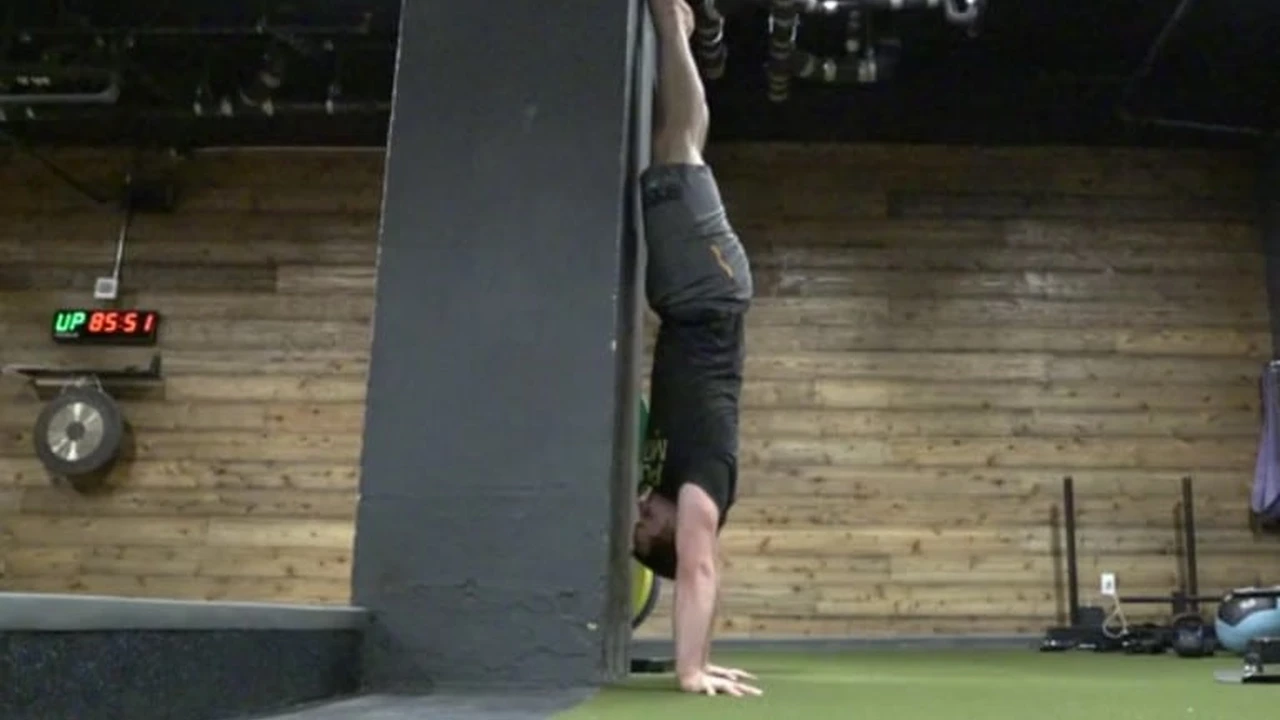
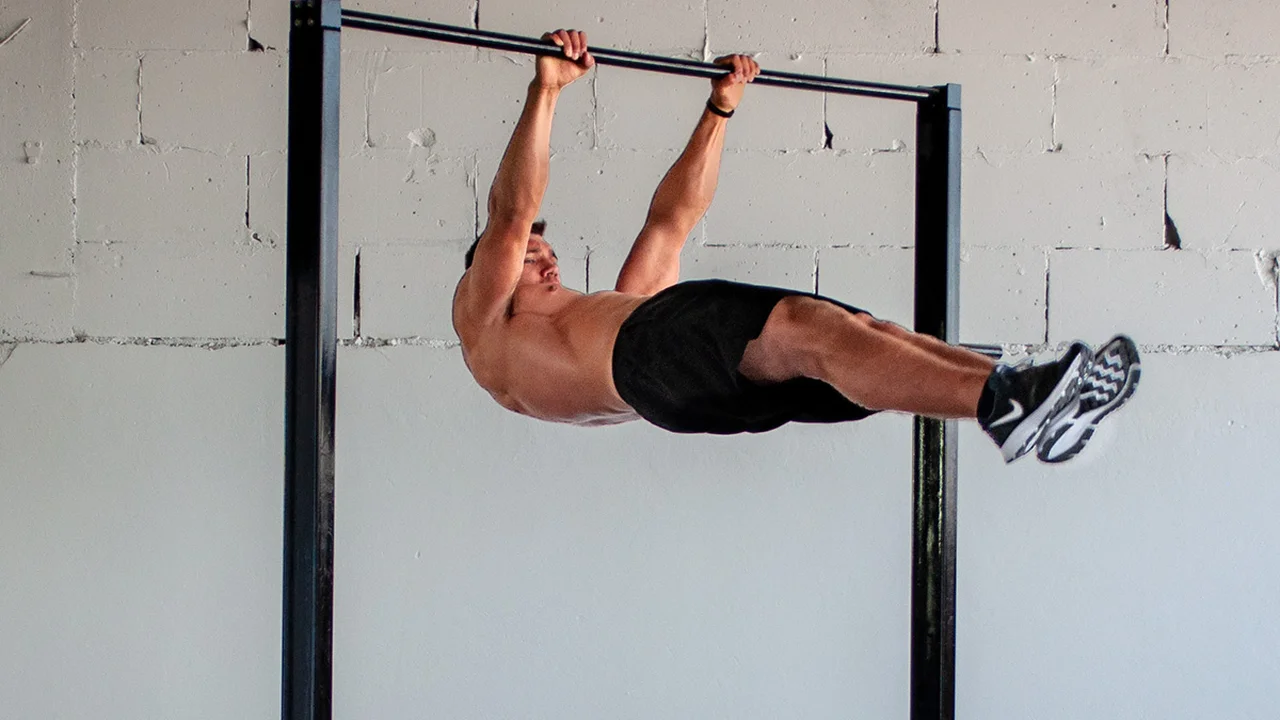
Pull-Up Bar for Versatile Upper Body Calisthenics Training
The pull-up bar is the cornerstone of any home calisthenics setup. It allows you to perform a huge range of exercises, from pull-ups and chin-ups to muscle-ups and hanging leg raises. It's a fantastic tool for building upper body strength and developing a powerful back.
Types of Pull-Up Bars:
- Doorway Pull-Up Bars: These are convenient and easy to install, but they have weight limitations and may not be suitable for advanced exercises like muscle-ups.
- Wall-Mounted Pull-Up Bars: These are more stable and can handle heavier weights, making them a good option for serious calisthenics enthusiasts.
- Power Towers: These provide a complete workout station with pull-up bars, dip bars, and sometimes even leg raise stations.
- Free-Standing Pull-Up Bars: Portable and versatile, these bars can be placed anywhere.
Product Recommendations:
- Iron Gym Total Upper Body Workout Bar: A classic doorway pull-up bar that's affordable and easy to use. Great for beginners. Around $20-$30.
- Stud Bar Pull Up Bar: A heavy-duty wall-mounted pull-up bar that can handle a lot of weight. Ideal for advanced calisthenics. Expect to pay $80 - $120.
- Weider Power Tower: A versatile power tower with pull-up, dip, and leg raise stations. A good all-in-one option. Costs around $150-$250.
- Ultimate Body Press Dip Bar Stand: These portable, free-standing dip bars are perfect for those who need to move their workout station or don't want to mount anything to a wall. Typically cost $100 - $150.
Using a Pull-Up Bar: Start with basic pull-ups and chin-ups. Focus on proper form and gradually increase the number of reps you can do. Experiment with different grips to target different muscle groups. Consider adding weight once you can comfortably perform a high number of reps. For doorway bars, always check the weight capacity before using. For all bars, regularly inspect for wear and tear.
Resistance Bands for Assisted Exercises and Progressive Overload in Calisthenics
Resistance bands are incredibly versatile and useful for calisthenics. They can be used to assist with exercises like pull-ups and dips, making them easier to learn. They can also be used to add resistance to exercises, making them more challenging. And they're great for stretching and mobility work.
Types of Resistance Bands:
- Loop Resistance Bands: These are the most common type of resistance band. They come in different resistance levels, from light to heavy.
- Tube Resistance Bands: These have handles and are often used for exercises like bicep curls and rows.
- Therapy Bands: These are thinner and lighter than loop resistance bands and are often used for rehabilitation exercises.
Product Recommendations:
- Serious Steel Fitness Resistance Bands: These are high-quality loop resistance bands that come in a variety of resistance levels. A single band can cost $10-$30, depending on the resistance.
- Bodylastics Resistance Bands Set: This set includes tube resistance bands with handles and a door anchor. A full set costs around $50-$70.
- TheraBand Resistance Bands: These are great for rehab and light stretching. A single band is very affordable, around $5-$10.
Using Resistance Bands: For assisted exercises, loop the band around the pull-up bar and place your feet or knees in the loop. The band will provide assistance, making the exercise easier. For added resistance, loop the band around your body or the equipment you're using. Experiment with different band positions to target different muscle groups. Always inspect bands before use for tears or weaknesses.
Parallettes for Increased Range of Motion and Wrist Protection During Calisthenics
Parallettes are small, portable bars that allow you to perform exercises like push-ups, dips, and L-sits with an increased range of motion. They also help to protect your wrists by reducing the amount of stress on them.
Types of Parallettes:
- Wooden Parallettes: These are sturdy and provide a good grip.
- Metal Parallettes: These are durable and often more affordable.
- PVC Parallettes: These are lightweight and easy to transport, but they may not be as sturdy as wooden or metal parallettes.
Product Recommendations:
- Garage Fit Wood Parallettes: These are well-made wooden parallettes that provide a solid base for your exercises. Expect to pay around $80-$120.
- Nayoya Parallettes: These are metal parallettes that are durable and affordable. They usually cost around $50-$80.
- Lebert Fitness EQualizer Bars: While not strictly parallettes, these provide similar benefits and are very versatile. They cost around $100-$150.
Using Parallettes: Start with basic exercises like push-ups and dips. Focus on maintaining proper form and gradually increase the range of motion. Parallettes can also be used for more advanced exercises like handstand push-ups and L-sits. Ensure the parallettes are on a stable, level surface before use.
Foam Roller for Muscle Recovery and Improved Flexibility After Calisthenics Workouts
Recovery is just as important as training. A foam roller helps you to release muscle tension, improve flexibility, and speed up recovery after your calisthenics workouts. It's a simple but effective tool for preventing injuries and improving your overall performance.
Types of Foam Rollers:
- Smooth Foam Rollers: These are good for beginners and those with sensitive muscles.
- Textured Foam Rollers: These have bumps and ridges that provide a deeper massage.
- Vibrating Foam Rollers: These provide an even deeper massage and can help to further release muscle tension.
Product Recommendations:
- Amazon Basics High-Density Round Foam Roller: An affordable and effective smooth foam roller. Around $15-$25.
- TriggerPoint GRID Foam Roller: A popular textured foam roller that provides a deeper massage. Costs around $30-$40.
- Hyperice Vyper 2.0 Vibrating Foam Roller: A high-end vibrating foam roller that provides an even deeper massage. Expect to pay $150-$200.
Using a Foam Roller: Roll slowly over the targeted muscle groups, applying pressure as needed. Spend extra time on areas that are particularly tight or sore. Roll for 5-10 minutes after each workout. Start gently and increase pressure gradually. Avoid rolling directly over joints or bones.
:max_bytes(150000):strip_icc()/277019-baked-pork-chops-with-cream-of-mushroom-soup-DDMFS-beauty-4x3-BG-7505-5762b731cf30447d9cbbbbbf387beafa.jpg)