7 Common Handstand Mistakes and How to Avoid Them
Handstands are a challenging yet rewarding skill to learn. Avoiding common pitfalls is crucial for a safe and effective practice. This article will delve into the seven most frequent handstand mistakes, offering practical solutions to overcome them. We'll also explore helpful training aids and compare different product options to accelerate your handstand journey.
So, you're on your handstand journey! Awesome! It's a tough one, but totally worth it. But let's be real, handstands are tricky. There are a bunch of common mistakes that can hold you back, or worse, lead to injury. Let's break down the big ones and how to fix them.
Poor Wrist Warm-Up for Handstands Injury Prevention
Okay, first things first: your wrists are super important. They're taking a beating in a handstand. Skipping a proper warm-up is a recipe for pain and potential injury. Think of it like this: you wouldn't run a marathon without stretching, right? Same deal here.
The Mistake: Neglecting wrist warm-ups, or doing them too quickly and without proper form.
The Fix: Dedicate at least 5-10 minutes to wrist warm-ups before every handstand practice. Here are a few ideas:
- Wrist Circles: Rotate your wrists in both directions.
- Finger Stretches: Extend your fingers as wide as possible, then make a fist. Repeat.
- Wrist Flexion and Extension: Gently bend your wrists up and down, and side to side.
- Weight Bearing Drills: Start on your hands and knees, and gently rock forward and backward, side to side, and in circles. Gradually increase the amount of weight you're putting on your wrists.
Product Recommendation: While not directly wrist-related, using parallettes can significantly reduce wrist strain. They allow for a more neutral wrist position. We'll talk more about them later.
Lack of Core Engagement for Handstand Stability
This is a big one! Your core is the key to stability in a handstand. Without proper core engagement, you'll be wobbly and struggle to hold the position.
The Mistake: Not actively engaging your core muscles, leading to a banana back shape.
The Fix: Focus on pulling your belly button towards your spine and squeezing your glutes. Think about creating a straight line from your wrists to your toes. Practice core exercises like planks, hollow holds, and bird dogs to strengthen your core.
Drill: Try practicing handstand holds against a wall, focusing on maintaining a hollow body position. This will help you develop the necessary core strength and stability.
Shoulder Activation and Protraction for Handstand Alignment
Your shoulders play a crucial role in handstand alignment and stability. You need to actively push the ground away from you, creating a strong and stable base.
The Mistake: Collapsing in the shoulders, leading to a slumped posture and difficulty balancing.
The Fix: Focus on actively protracting your shoulders, pushing the ground away from you. Imagine trying to make your upper back wider. Practice shoulder shrugs and scapular protraction exercises to improve shoulder activation.
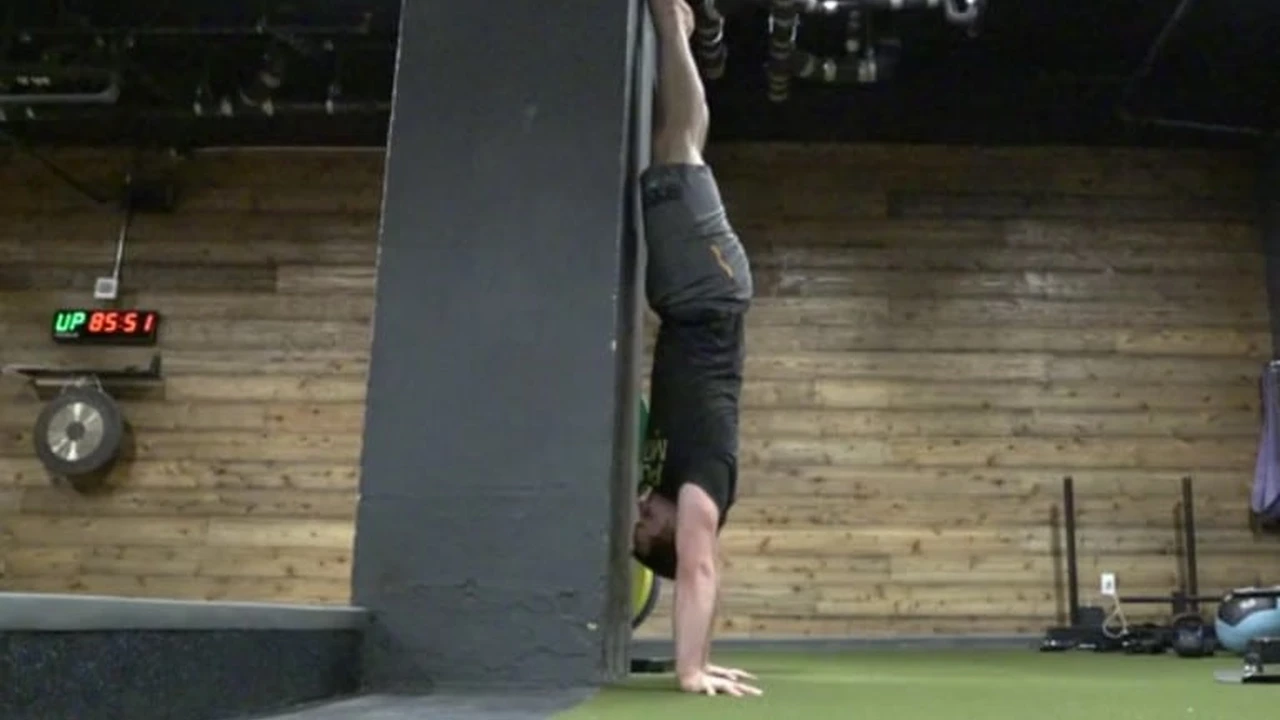
Drill: Wall walks are great for this. Walk your feet up the wall while keeping your shoulders actively protracted. Focus on maintaining a straight line from your wrists to your hips.
Overarching the Back Handstand Banana Back Correction
The dreaded banana back! This is a very common mistake, and it can make balancing much harder and potentially lead to back pain.
The Mistake: Overarching the back, creating a banana-like shape.
The Fix: Focus on engaging your core and tucking your tailbone. Think about squeezing your glutes and pulling your ribs towards your hips. Practice hollow body holds to improve your core strength and body awareness.
Drill: Practice handstand holds against a wall, focusing on maintaining a hollow body position. This will help you learn to control your back arch.
Head Position and Neck Tension in Handstands
Your head position can significantly impact your balance and stability. Holding tension in your neck can also lead to discomfort and pain.
The Mistake: Looking forward or allowing your head to dangle, leading to neck tension and balance issues.
The Fix: Keep your neck relaxed and your gaze focused on a point between your hands. Imagine you're trying to look slightly past your fingertips. Practice neck stretches to release any tension.
Fear and Mental Blocks Handstand Confidence Building
Let's be real, handstands can be scary! Fear and mental blocks can hold you back from progressing.
The Mistake: Letting fear dictate your practice, avoiding challenging yourself, and not trusting your abilities.
The Fix: Start small and gradually increase the difficulty of your training. Practice near a wall for support and build confidence. Visualize yourself successfully performing a handstand. Celebrate your progress, no matter how small.
Tip: Find a supportive community of handstand practitioners. Sharing your experiences and getting encouragement from others can make a big difference.
Rushing the Process Handstand Patience and Progression
Handstands take time and practice. Rushing the process can lead to frustration and injury.
The Mistake: Trying to progress too quickly, skipping foundational exercises, and not being patient with yourself.
The Fix: Focus on mastering the basics first. Build a strong foundation of core strength, shoulder stability, and wrist strength. Be patient with yourself and celebrate your progress along the way. Remember, consistency is key!
Handstand Training Equipment Recommendations and Comparisons
Okay, now for the fun part: gear! While you don't *need* any equipment to practice handstands, certain tools can definitely help you progress faster and safer. Let's look at a few options:
Parallettes for Handstand Training
What they are: Parallettes are small, portable bars that you can use to practice handstands. They elevate your hands off the ground, allowing for a more neutral wrist position and reducing wrist strain.
Benefits:
- Reduced wrist strain
- Improved shoulder activation
- Increased range of motion
- Enhanced stability
Product Recommendations:
- Garage Fit Parallettes: These are a solid, affordable option for beginners. They're made of sturdy steel and have a comfortable grip. Price: ~$60.
- Lebert Equalizer Bars: These are more versatile than traditional parallettes, as they can be used for a variety of exercises. They're also lightweight and portable. Price: ~$100.
- Wooden Parallettes (various brands): Many smaller brands offer beautiful, handcrafted wooden parallettes. These tend to be more expensive but offer a premium feel and aesthetic. Price: ~$150+.
Comparison: Garage Fit parallettes are a great budget-friendly option for beginners. Lebert Equalizer bars offer more versatility but are slightly more expensive. Wooden parallettes are a premium option for those who value aesthetics and craftsmanship.
Usage Scenario: Use parallettes for handstand holds, handstand push-ups, L-sits, and other bodyweight exercises. They're great for both home and gym use.
Handstand Blocks for Handstand Grip Improvement
What they are: Handstand blocks are small, rectangular blocks that you can hold onto during handstands. They help improve your grip strength and stability.
Benefits:
- Improved grip strength
- Enhanced stability
- Increased confidence
Product Recommendations:
- Cork Handstand Blocks (various brands): Cork blocks are a popular choice because they're grippy and comfortable. They're also eco-friendly. Price: ~$30-50 per pair.
- Wooden Handstand Blocks (various brands): Wooden blocks offer a more solid and stable feel. They're also more durable than cork blocks. Price: ~$40-60 per pair.
Comparison: Cork blocks are more affordable and offer a good grip. Wooden blocks are more durable and provide a more stable feel.
Usage Scenario: Use handstand blocks for handstand holds, press handstands, and other advanced handstand variations. They're great for developing grip strength and stability.
Crash Mats for Handstand Safety and Comfort
What they are: Crash mats are thick, padded mats that you can use to cushion your falls during handstand practice. They provide a safe and comfortable landing surface.
Benefits:
- Increased safety
- Reduced fear of falling
- More comfortable practice
Product Recommendations:
- Gymnastics Mats (various brands): These are thick, padded mats that are designed for gymnastics and tumbling. They provide excellent cushioning and are available in a variety of sizes. Price: ~$100+.
- Folding Crash Pads (various brands): These are smaller, foldable mats that are easy to store and transport. They're a good option for home use. Price: ~$50+.
Comparison: Gymnastics mats offer more cushioning and are better suited for serious handstand training. Folding crash pads are more portable and affordable, making them a good option for beginners.
Usage Scenario: Place a crash mat under you during handstand practice to cushion your falls and reduce the risk of injury. They're especially helpful when learning new skills or pushing your limits.
So there you have it! Seven common handstand mistakes and how to avoid them, plus some gear recommendations to help you on your way. Remember to be patient, consistent, and listen to your body. Happy handstanding!
:max_bytes(150000):strip_icc()/277019-baked-pork-chops-with-cream-of-mushroom-soup-DDMFS-beauty-4x3-BG-7505-5762b731cf30447d9cbbbbbf387beafa.jpg)