Advanced Push-Up Techniques for Serious Calisthenics
Push-ups are a cornerstone of calisthenics, offering a full-body workout that requires no equipment. Mastering advanced push-up techniques can significantly enhance your strength, endurance, and overall fitness. This article delves into various advanced push-up variations, provides detailed instructions, and explores the best equipment to support your training, including product recommendations, usage scenarios, and comparative pricing. Get ready to take your push-up game to the next level!
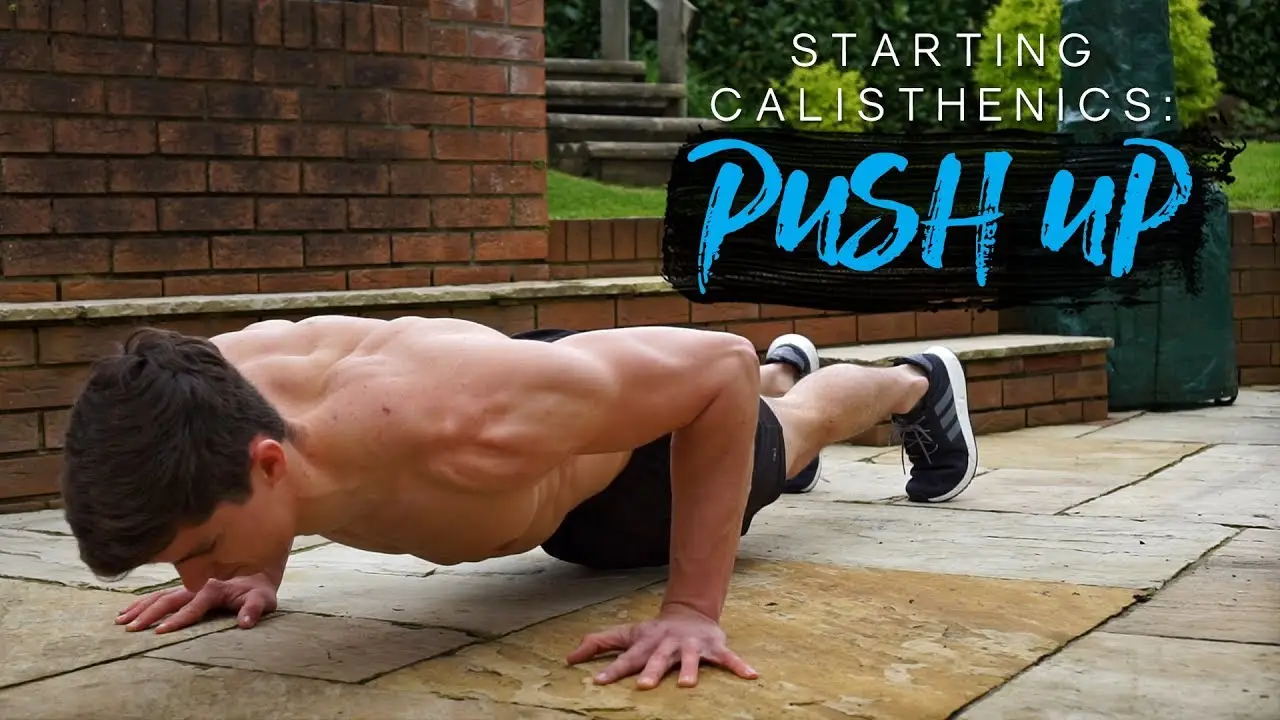
Understanding the Fundamentals of Advanced Push-Ups (Strength, Stability, Form)
Before diving into advanced push-up variations, it's crucial to have a solid foundation. This means mastering the standard push-up with perfect form. Focus on maintaining a straight line from head to heels, engaging your core, and controlling your descent and ascent. Strength and stability are key. Can you comfortably perform 20-30 regular push-ups with good form? If not, focus on building your base first.
Proper form prevents injuries and maximizes the effectiveness of each rep. Imagine a plank on the ground, moving up and down. This is your target form. Engage your glutes and keep your core tight.
Decline Push-Ups: Targeting Upper Chest and Shoulders (Incline, Elevated Feet, Benefits)
Decline push-ups are a fantastic way to emphasize your upper chest and front deltoids. By elevating your feet, you shift more weight onto your upper body, making the exercise more challenging.
How to Perform Decline Push-Ups: Find a stable surface like a bench, box, or even a sturdy chair. Place your feet on the elevated surface and assume the push-up position with your hands shoulder-width apart. Lower your chest towards the ground, maintaining a straight line from head to heels. Push back up to the starting position.
Benefits: Increased upper chest activation, improved shoulder strength, and enhanced overall push-up power.
Incline Push-Ups: Modifying Difficulty and Engaging Lower Chest (Angle, Regression, Easier Variation)
Incline push-ups are the opposite of decline push-ups; they make the exercise easier by reducing the amount of weight you have to lift. This is a great option for beginners or those recovering from an injury.
How to Perform Incline Push-Ups: Place your hands on an elevated surface like a wall, table, or bench. The higher the surface, the easier the exercise. Assume the push-up position and lower your chest towards the surface. Push back up to the starting position.
Benefits: Great for beginners, allows you to focus on form, and engages the lower chest muscles.
Diamond Push-Ups: Strengthening Triceps and Inner Chest (Hand Placement, Tricep Activation, Close-Grip)
Diamond push-ups are a challenging variation that heavily targets your triceps and inner chest. The close hand placement significantly increases the difficulty.
How to Perform Diamond Push-Ups: Form a diamond shape with your hands by touching your thumbs and index fingers together directly under your chest. Assume the push-up position and lower your chest towards your hands. Push back up to the starting position. This is a tough one, so start slow and focus on proper form.
Benefits: Excellent tricep builder, strengthens inner chest, and improves pushing power.
Plyometric Push-Ups: Explosive Power and Muscle Development (Explosiveness, Clap Push-Ups, Jumping)
Plyometric push-ups are all about explosiveness. These variations involve generating enough force to lift your hands off the ground, adding a dynamic element to the exercise.
How to Perform Plyometric Push-Ups: Start in a standard push-up position. Lower your chest towards the ground and then explosively push back up, generating enough force to lift your hands off the ground. You can clap your hands together before landing back in the starting position (clap push-ups) or simply focus on the explosive movement.
Benefits: Develops explosive power, improves reaction time, and increases muscle recruitment.
One-Arm Push-Ups: Ultimate Strength and Stability Test (Unilateral Strength, Core Engagement, Balance)
One-arm push-ups are considered one of the most challenging push-up variations. They require significant strength, stability, and core engagement.
How to Perform One-Arm Push-Ups: Start in a standard push-up position with your feet wider than shoulder-width apart for added stability. Place one hand behind your back or to your side. Lower your chest towards the ground, maintaining a straight line from head to heels. Push back up to the starting position. This requires incredible core strength and balance.
Benefits: Develops unilateral strength, improves core stability, and enhances overall body control.
Push-Up Equipment: Enhancing Your Workout (Parallettes, Resistance Bands, Weighted Vests)
While push-ups can be done anywhere with no equipment, certain tools can enhance your workout and help you progress.
Parallettes: Wrist Protection and Deeper Range of Motion (Wrist Pain, Deeper Push-Ups, Elevated Push-Ups)
Parallettes are small parallel bars that allow you to perform push-ups with a neutral wrist position, reducing strain and pain. They also allow for a greater range of motion, leading to deeper push-ups.
Product Recommendation: Lebert Fitness Equalizer Bars. These are sturdy, affordable, and perfect for home use. They cost around $80.
Usage Scenario: Use parallettes for all your push-up variations to protect your wrists and increase the depth of your reps. They're also great for dips and other bodyweight exercises.
Comparison: Compared to cheaper plastic parallettes, the Lebert Fitness Equalizer Bars are much more durable and stable. They're a worthwhile investment if you're serious about calisthenics.
Resistance Bands: Adding Resistance and Assistance (Assisted Push-Ups, Increased Resistance, Variable Resistance)
Resistance bands can be used to either add resistance to your push-ups, making them more challenging, or to provide assistance, making them easier.
Product Recommendation: Serious Steel Fitness Resistance Bands. These are high-quality bands that come in various resistance levels. A set of bands costs around $50-$100, depending on the number of bands included.
Usage Scenario: Use thicker bands looped around your back to add resistance to your push-ups. Use thinner bands looped under your knees to provide assistance if you're struggling with regular push-ups.
Comparison: Compared to cheaper bands that can snap easily, Serious Steel Fitness bands are built to last. The varying resistance levels allow you to progressively overload your muscles.
Weighted Vests: Increasing Intensity and Building Strength (Added Weight, Progressive Overload, Vest Options)
A weighted vest is a great way to increase the intensity of your push-ups and accelerate your strength gains. It adds a constant load to your body, making each rep more challenging.
Product Recommendation: CAP Barbell Adjustable Weighted Vest. This vest allows you to add or remove weight in small increments, allowing for progressive overload. It costs around $60-$120, depending on the weight capacity.
Usage Scenario: Wear the weighted vest during your push-up workouts to increase the difficulty. Start with a lighter weight and gradually increase the weight as you get stronger.
Comparison: Compared to fixed-weight vests, the CAP Barbell Adjustable Weighted Vest is much more versatile. You can adjust the weight to match your current strength level and progressively increase the weight as you get stronger. The price is also very competitive.
Progressing Your Push-Up Journey: Sets, Reps, and Frequency (Workout Plan, Progression, Consistency)
To see results from your push-up training, it's essential to have a well-structured workout plan. Focus on proper form and gradually increase the difficulty as you get stronger. Aim for 3-4 workouts per week, allowing for rest and recovery between sessions.
A sample workout plan might look like this:
- Warm-up: 5 minutes of light cardio and dynamic stretching.
- Set 1: 3 sets of 8-12 reps of decline push-ups.
- Set 2: 3 sets of 8-12 reps of diamond push-ups.
- Set 3: 3 sets of as many reps as possible (AMRAP) of plyometric push-ups.
- Set 4: 3 sets of 8-12 reps of incline push-ups.
- Cool-down: 5 minutes of static stretching.
Remember to adjust the number of sets and reps based on your fitness level. Consistency is key to seeing results.
Common Push-Up Mistakes: Avoiding Injury and Maximizing Results (Form Breakdown, Elbow Flare, Sagging Hips)
Even with perfect form, it's easy to slip up and make mistakes. Here are some common push-up mistakes to avoid:
- Elbow Flare: Keep your elbows tucked in close to your body to protect your shoulder joints.
- Sagging Hips: Maintain a straight line from head to heels by engaging your core.
- Partial Reps: Lower your chest all the way to the ground and fully extend your arms on the way up.
- Rushing Through Reps: Control your descent and ascent to maximize muscle activation.
By avoiding these common mistakes, you'll be able to perform push-ups safely and effectively.
Nutrition and Recovery: Fueling Your Push-Up Performance (Protein, Rest, Hydration)
Proper nutrition and recovery are essential for maximizing your push-up performance. Make sure you're eating a balanced diet with plenty of protein to support muscle growth and repair. Get enough sleep and stay hydrated to optimize your recovery.
Aim for at least 7-8 hours of sleep per night. Drink plenty of water throughout the day. Consider adding a protein supplement to your diet if you're struggling to meet your protein needs.
:max_bytes(150000):strip_icc()/277019-baked-pork-chops-with-cream-of-mushroom-soup-DDMFS-beauty-4x3-BG-7505-5762b731cf30447d9cbbbbbf387beafa.jpg)


